I finished making a bridal petticoat (for my Halloween costume)! I know just how expensive petticoats are to buy (or even rent) so, I'll show you how I made mine in 9 simple steps and for really cheap.
Quick & easy petticoat tutorial for bridal gown:(total cost about $8 which is really cheap compared to store bought)
Supplies:Fabric of choice to make lining (about the size of a full length skirt)
Elastic for waistband
10 yards of netting
1. Choose a fabric to be the base lining of the petticoat (which will basically be the size of a full length skirt) I used muslin, because it was cheap and I had some on hand.
2. Cut fabric to roughly the shape shown below. Keep in mind, the length should be roughly that of a full length skirt on you, and the waist should be cut wide enough to be able to slip the petticoat on.
3. Sew the sides of fabric together & sew the bottom hem
4. Cut an elastic band at a comfortable yet secure length to fit around your waist and sew it to the waist of your skirt lining

5. Mark 3 horizontal lines across the fabric lining (front & back) as shown below in the diagram by the blue dotted lines. These will be the lines you will sew the netting to.

6. Prepare your netting: (mine was 54" wide to begin with)
a) Cut 3 lengths of netting: 2 yards, 4yards, and 4yards.
b) Starting with one piece, fold netting in half length wise (this is usually already done for you, if it is straight from the bolt)
c) Fold that netting in half again, length wise (essentially dividing the fabric into fourths)
d) Baste all 4 layers of the netting together lengthwise about 1" from the folded edges
e) Repeat with the other two lengths of netting
7. Attaching the netting:
a) Mark the front and back center points on your skirt lining at each of the three horizontal lines you previously marked for the netting attachment sites
b) Divide the netting pieces into fourths width wise and mark those points
c) Starting with the bottom of the skirt, match the markings on the netting with the centers and seam markings on the skirt and pin in place at those points
d) Gather the netting to fit around the skirt at that location
e) Sew in place following the lines
f) Repeat the netting attachment steps for the middle and upper horizontal netting attachment lines, using the other 4 yard piece of netting for the middle row and the 2 yard piece for the top row.
** It is much easier to attach the netting from bottom to top **
** Make sure the rows of netting overlap each other a bit. Ex: The middle row overlaps the bottom row a few inches and the top row overlaps the middle row a few inches. **
8. On the bottom edges of all three rows of netting (not the part sewn onto the skirt lining) there will be one folded edge left over, instead of a raw edge. Cut the folded fabric apart creating two raw edges in place of the fold.
9. Fluff out the netting layers
Your petticoat is complete!
**Note, you may want to stagger where the ends of the netting meet up while attaching them to the skirt lining to create a smoother look**

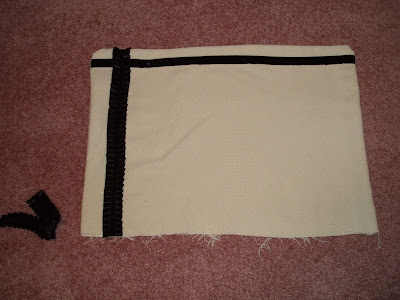
 (wrong sides of fabric shown above)
 6) Flip pillow right side out and stuff it (I used stuffing from the couch cushion beagle destroyed)
 7) Hand sew the hole used to flip/stuff the pillow shut
 Here are the completed pillows on the bed comforter that they will go with.


